If you like what you see here, you can find even more fun tidbits from me!
Follow me on Facebook - https://www.facebook.com/ItsAboutTimeTlc
(I cannot figure out how to find that widget, so we are doing it 'old school')
or
Find me on Pinterest!
Tamara Nugteren
Friday, February 28, 2014
Homemade oatmeal bars - The best part of my day.

Tamara Nugteren
This is my very own concocted recipe and I'm quite proud of how it turned out.
It is both wheat and dairy free and full of other great ingredients - without tasting like cardboard. Delicious in fact!

I know in the last year or so, homemade oatmeal treat recipes have become increasingly popular, but I would just like to say that I have been making this one for years. I started experimenting with it when my children were very young, with the desire of feeding them better foods. This has given me plenty of time to tweak the original recipe and come up with many other tasty versions.
Below is the "base recipe".
I will list variations at the bottom of the page, but feel free to come up with some of your own as well!
Not only are there endless ingredient variations, but there are also several baking variations.
I most commonly bake this recipe in a stoneware muffin pan, but you can also do it in two 8x8's, a 9x13 or even spread thin on a cookie sheet. You will just need to adjust the baking time (more on that later.)
This recipe also makes a fantastic dry mix. I often make up several extra batches of the dry mix for my pantry or to give as a gift for teachers, friends or anyone else. Just make sure to include the list of wet ingredients that will need to be added later along with the baking instructions if you gift it away.
Base recipe - Tamara's Homemade Oatmeal Bars
(Healthy enough for breakfast, yummy enough for snacks)
- 1 1/2 c. rolled oats; old fashioned - NOT quick cooking.*
- 1/2 c. oatmeal flour **
- 1/4 c. ground roasted soy nuts **
- 1/4 c. ground flax **
- 1/4 c. brown sugar ***
- 1/4 tsp. salt
- 1/2 tsp. baking soda
- 1/2 tsp. cinnamon
Mix the above ingredients well, by hand, with a whisk.
If you are making dry mixes, stop here. Put it into some appropriately sized zip-seal baggies and squeeze out all the extra air. Mark your dry mixes well - Sharpies work great, as does just dropping a post-it note with the rest of the instructions inside.
 |
| Dry ingredients |
- 1 tsp. vanilla
- 1 cup applesauce (or two individual 4 oz. servings, if you buy it that way.)
- 2 T. oil of your choosing (something not to flavorful - coconut or a vegetable oil is best.)
- 1-3 T. water (start low, add more if your mix is dry after you add in your variations below.)
If you are baking up the batch, now is when you can add in your family's favorite ingredients.
I always start with 1/2 - 1 full bag of chocolate chips. For my daughter, I buy dairy-free chips. Whole Life makes a dairy free variety (sold at Target), Ghirardelli Semi-Sweet are also dairy-free or you could do a high quality dark chocolate.
 |
| (Above) Adding in the wet ingredients |
 |
| (Above) Moist, but sticks together well. I filled my 12 cup pan with about 2/3 of this batter. |
 |
| (Above) Each muffin cup was 2/3- 3/4 full. |
- For my daughter I make a portion with dried cranberries.
- For my son, no cranberries but peanut butter. (The entire recipe would call for 1 cup of peanut butter. Less if you are doing a half, third or quarter batch.)
- For myself, I add coconut and chopped walnuts into the base recipe.
There are not specific amounts that I use - just add in what looks good to you, but keep the base recipe moist. For a reference point, into a whole recipe you would end up with no more than an additional 1 cup of dry ingredients, not including the chocolate chips or peanut butter.
If your recipe seems too dry, add in 1/4 cup of water.
 |
| Chopped walnuts and shredded coconut for me. I made the first 12 in the muffin tin and added about 1 cup of these ingredients to the remainder of the batter. |
 |
| After adding in the walnuts and the coconut shred, I was able to make an additional 7 bars in the muffin pan. So in this batch, I ended up with 19 bars total. 12 chocolate chip and 7 chocolate chip/walnut/coconut. |
The baking times can vary greatly based on your pan and your preference for doneness. There are no safety concerns with under baking (no eggs or raw meats) so go with what you like. You will have to experiment a bit each time.
If you use a stoneware pan, you should heat it with the oven, then pull it out and fill it for the best results. Stoneware also takes a bit longer to bake because it it so much thicker than a metal or glass pan.
I prefer moist and thick, my husband likes the bars to be baked longer and more "done". If you use a cookie sheet, your bars will be much thinner than if you use another type of pan, and you will want to make sure they are a bit tougher so they hold together.
Here are some guidelines:
Always grease whatever pan you use for the best result. Also always let your bars cool fully before removing them from your pan or they may fall apart.
- 8x8 pans will take approximately 30-40 minutes and the result will be a thick bar.
- A 9x13 pan will bake about 25-30 minutes and the bars will be about 1 1/2 " thick.
- My pre-heated stoneware muffin pan bakes for 30 minutes - I add an extra 5 minutes if they are for my husband, he prefers them crunchier. This recipe makes 12-18 servings in a muffin pan, depending on your add-ins.
- A standard cookie sheet will bake about 15 minutes.
- No matter your type of muffin pan, grease it well and don't use the paper liners. You don't need them.
Please remember to watch the first few times you bake as your experience may be slightly different.
If they turn out too soft, add a 5 minutes next time. If they are too tough, take a few minutes away.
Enjoy! I'd love to hear about your results.
 |
| (Above) Finished product - plain variety "AKA chocolate chip. |
 |
| (Above) Finished product - chocolate chip/walnut/coconut. I love how the exposed coconut gets all toasty on top! |
* Bob's Red Mill makes a guaranteed gluten-free oatmeal if you need that.
** I grind the oatmeal to make a flour, the soy nuts and whole flax in my blender. You could also use a Magic Bullet, Nutri-Bullet or something similar. Flax can also be purchased pre-ground.
*** I have not found a great substitute for the brown sugar. It has the right texture for this recipe. My daughter cannot have honey or agave, so I haven't tried that, but I think the liquid may change the out come anyway. If you try that and it works well, let me know. The amount of sugar in this recipe is pretty low, however if your add-ins are naturally sweet, you may be able to leave it out entirely. My kids don't love it without the added sweetness at this point - maybe when they are older.
Healthy Muffins for a quick breakfast or snack (dairy free, too!)

Tamara Nugteren
Zucchinis and pumpkins are sure signs of fall.
Zucchinis have never been one of my favorite foods, but I'm learning new ways to eat them as I get older. This year, for the first time, I actually used zucchinis in roasted vegetable blends for dinner and in stir frys. A big step for me! It was pretty good, so I'll keep it in the mix. Savory is new to me, but not sweet. I've always liked zucchinis that way - but this recipe is SO MUCH BETTER than any version of zucchini bread. Of course, the trouble with the Autumn harvest is keeping it available to use all winter. Especially if you are lucky enough to grow them or have someone who loves you growing them.
Saving zucchinis for baking isn't hard - it just takes a little time. Do a bunch at once and you'll have a winter's worth for baking. Here are my zucchini totals - just so you know what you might get:
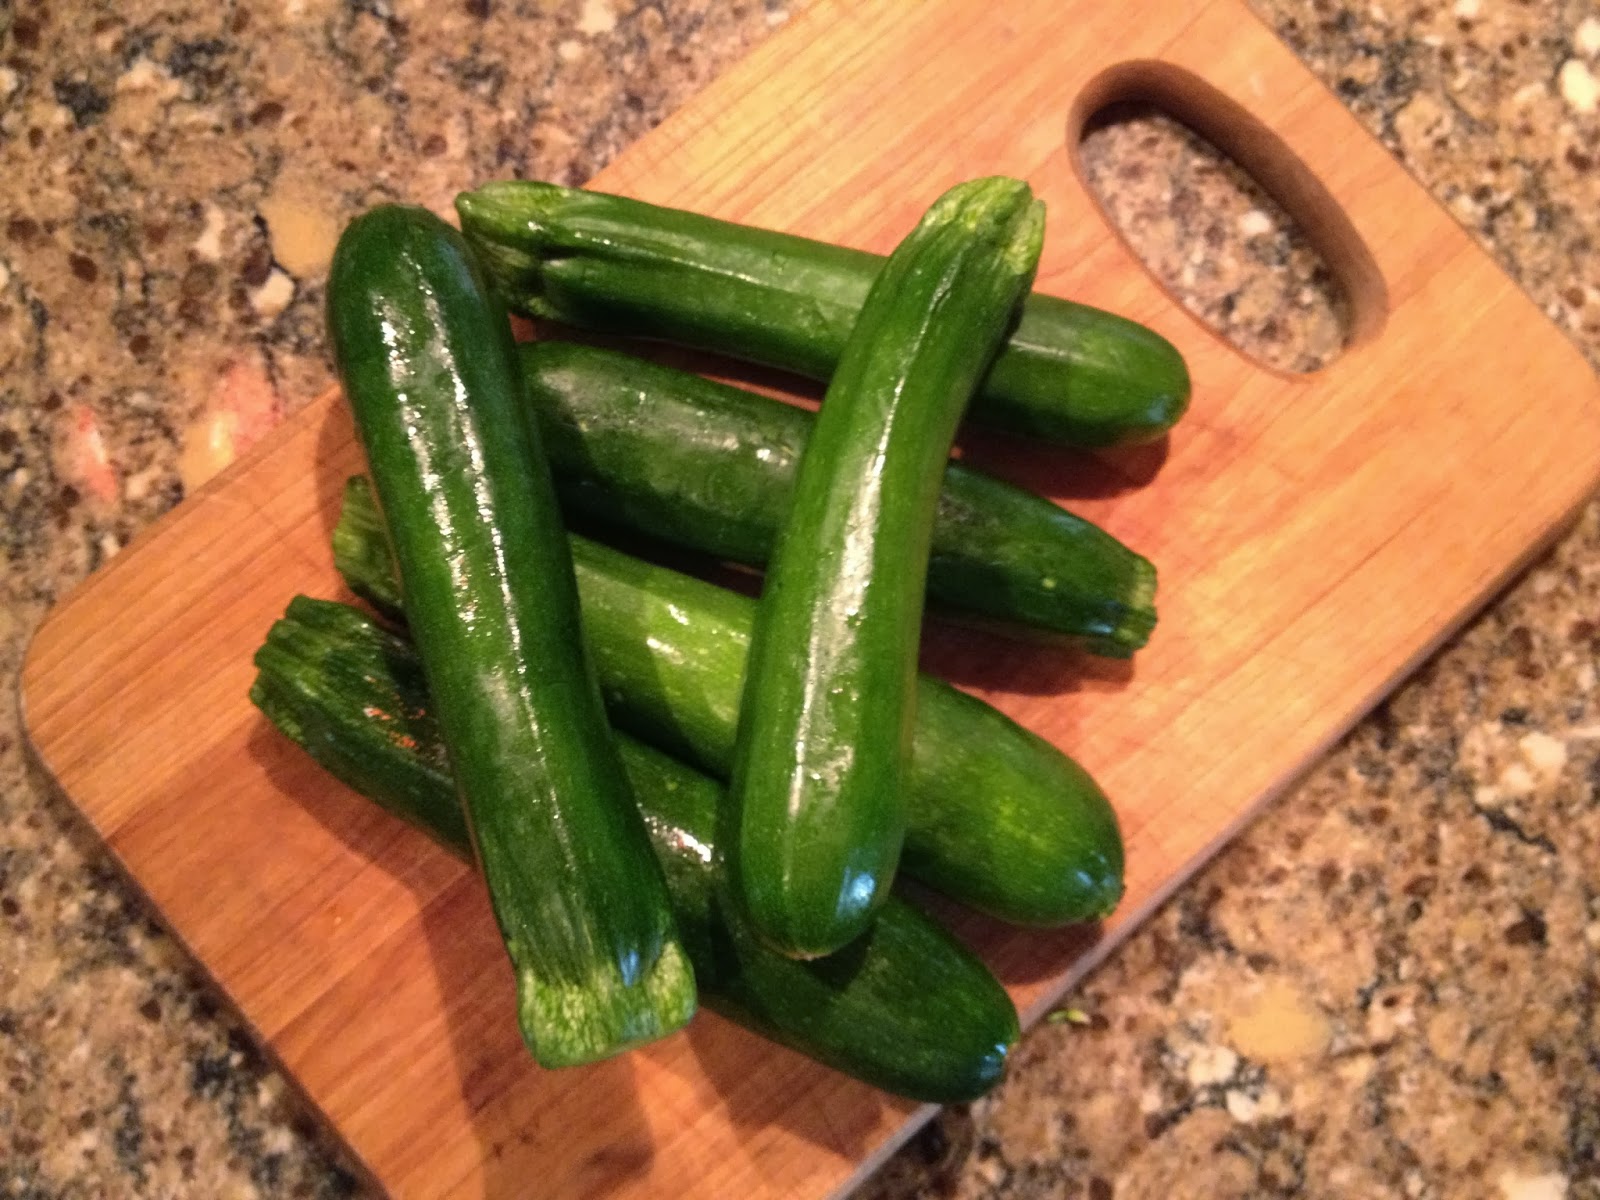 |
| This year, I purchased zucchinis. I could only find the small ones, but larger ones work just as well. |
 |
| Grating. |
 |
| Grated zucchini has a lot of moisture in it. Squeeze and drip it out through a colander. |
 |
| One cup portions, drained and zipped up in baggies. Get as much air out as possible. |
Chocolate Zucchini Muffins (Dairy Free)
Dry ingredients
- 1 cup flour*
- 3/4 cup sugar
- 1/3 cup cocoa powder
- 1 tsp. baking soda
- 1 tsp. cinnamon
- 1/2 tsp. salt
(Consider making extra batches of the dry ingredients, zipping it up into baggies and putting it into your pantry for next time!)
Wet ingredients
- 1/2 cup milk or milk substitute; I use unsweetened almond milk.
- 2 tsp. vinegar (omit if using regular milk)
- 1/4 cup oil (vegetable, canola or coconut)
- 1 egg, beaten
- 1 tsp. vanilla
- 1/2 c. boiling water
- 1 cup shredded zucchini
- 1/2 cup chocolate chips (I use dairy free. Trader Joes and Ghiradelli Semi-Sweets both are.)
Preheat oven to 350 degrees. Grease muffin tin and/or liners**.
In a medium bowl, whisk together dry ingredients. (Or, just pull them out of your pantry if you are using some you have set aside from earlier!) In another bowl, whisk together all wet ingredients EXCEPT zucchini and chocolate chips. Pour wet mixture and dry mixture together and blend thoroughly. Mixture will be very thin. Stir in the zucchini.
Fill muffin cups 3/4 full. These muffins don't raise much, so if you shouldn't have any problems with overflowing.
 |
| My favorite muffin pan - Pampered Chef stoneware. |
 |
| The batter is REALLY thin. Don't worry. |
 |
| Ready to go in the oven - see the chocolate chips on top? Some will sink in - even better. |
 |
| The final product - moist, chocolatey and utterly delicious. |
 |
| I had more muffin batter than would fit into 12 cups, so I'm using the extra to make "muffin tops". A little frosting between two and I have homemade Whoopie Pies! |
 |
| Eat some now... |
 |
| ... and freeze some for later. |
Notes:
* I use my own flour blend of 50% all purpose flour and 50% whole wheat pastry flour. Whole wheat pastry flour has all the nutritional benefits or regular whole wheat flour, but it is ground more finely and it much more "usable" in baking. I haven't switched over to 100% whole wheat because it is just too difficult to bake with. The result is very "heavy". This way, I get the best of both worlds.
** I really love my Pampered Chef stoneware muffin pan. You'll see me using it in recipes a lot. I'm sure there are competitors who sell this as well, if you are interested. The qualities of the stoneware allow me to bake without muffin liners, which I love.
Subscribe to:
Posts (Atom)