As I have state before, I am actually very sentimental. However, in several areas of life, that clashes with my need for organization. Children's artwork is one of those areas.

Their art is so precious (much of the time...) and they are growing so fast! I want to remember these days and their drawings. I want my children to know that the things they make are important and beautiful (much of the time...)!
I want them to be able to express themselves by doing art and entertain themselves by making crafts. I want them to be able to do it themselves (much of the time!).
(Image to the right is my son posing next to a giant haunted house picture he made on some giant paper. We hung it up as a decoration around Halloween. He is so proud of that.)
Inspiring Art
Children naturally love art. It is messy and it is exploration. Art is an important learning tool.
Just think of the real experts - preschool teachers. They know this. Have you ever actually stopped and paid attention to how a preschool does art? Many of the supplies are easily accessible. That way the children can handle much of the process themselves. Want to draw? Go to the paper area and grab a piece. Pick up some crayons while you are there. When you are done, please put it back. Three and four-year-olds can do this. It gets even better when they get into grade school.
 Make a place in your home - centrally located (kitchen is ideal) to have an "art area". Find a cabinet you can use, or purchase a piece just for the job. Something with doors will save your sanity. Dedicate this space ONLY to art. We actually have two smaller cabinets (This fits our space best). One for art supplies (paper, stickers, crayons/markers/pencils, paint supplies, stencils - you name it) the other for kits & crafts (beads, potholder kits, playdoh, etc.). When you have a "go to" place for arts and crafts, you are never searching for what you need or what they want. It's easy to take out and easy to put away. If you are lucky enough to have lots of space, you could dedicate a table just for projects - that way you don't have to pick up if the project isn't done yet. Most of us cannot do that - darn it! But I guess I would trade having to pick up for having my kids right where I'm at anyway - the kitchen. I can't keep an eye on my little Picasso's if they are in another room. Not to mention the constant trips to "help" anyway.
 (Image to the right is our "art cabinet". I love clear plastic shoe boxes and any other big clear leftover container for holding different categories of art supplies. We have an old Cascade container holding markers, and big Sam's Club sized clear plastic pretzle container holding scissors and glue and lots of the clear plastic shoe boxes holding stickers, stencils and other craft supplies. Use your imagination!)Boredom is constantly banished with an easily accessible craft kit that was a Christmas gift (potholder anyone?) or a birthday card making session with construction paper and stickers. The scissors and glue are all right there - and look! Pipe cleaners and googly eyes, too! Help yourself.
Displaying Art

There is a fine line between proudly displaying your children's best art and looking like you live in a kindergarten classroom. It's hard to distinguish when you live in it, but you know it when you see it in other people's homes. My only advice, is to have an area (or two) dedicated to the latest. A giant cork board works great. So does the refrigerator. Children's bedrooms are fair game as well. After that - try to make it look NICE.
(Image to the right: The side of our refrigerator is the ever changing "gallery".)
For the best of the best, here are some fun ideas for displaying your children's art:
Placemats. When my children were in preschool, they often brought art home on the great big 12 x 18 papers. Sometimes it was drawings, but often it was a painting. If you already have these, you can put two back to back and laminate to make a fun placemat. If you don't - grab some large paper and make your own. Your children will get to enjoy their art at mealtime and you can protect your nice table! My only recommendation regarding the laminating, is that you go get this done at an office supply store, like Office Max, Office Depot, Staples, etc. They do a nice heavy duty job that will stand up to more abuse than most. Just a couple dollars. Contact paper works OK, but doesn't look as nice. Either way, make sure when you trim off the extra that you leave 1/4 " around to seal or you will get moisture inside. (See below - sorry for the glare!)


Seasonal decorations. Starting in preschool, each year the children would take home holiday or season specific art. I have several years worth of cute snow men and women, lots of great hearts for Valentines Day, a nice tree collection for December -- you get the idea.
Right now (since it is absolutely FRIGID outside) I have a cute penguin collection hanging on my wall. I just took down 6 or 7 kid-made hearts and in a month or so I'll put up my Easter Egg collection. Why buy decorations? Use the ones your children have made!
Seasonal decorations are a great way to keep the precious art - and display it, in rotation. The children love knowing that I think their decorations are the best. Just keep your trees with your Christmas decorations and your hearts with your valentines day decorations and you'll never forget to put out the art.
Again, lamination is a big part of this. You can go cheaper on this though. The lamination keeps the art nice year after year and allows me to hang it with out destroying it using masking tape balls on the back. It also protects it from moisture if I put it on a window. For this job, I go to my local teacher supply store, Lakeshore Learning Store. They do super cheap laminating. I want to say it's $.39 a foot? I can get a whole host of art laminated for $2 or $3.00.
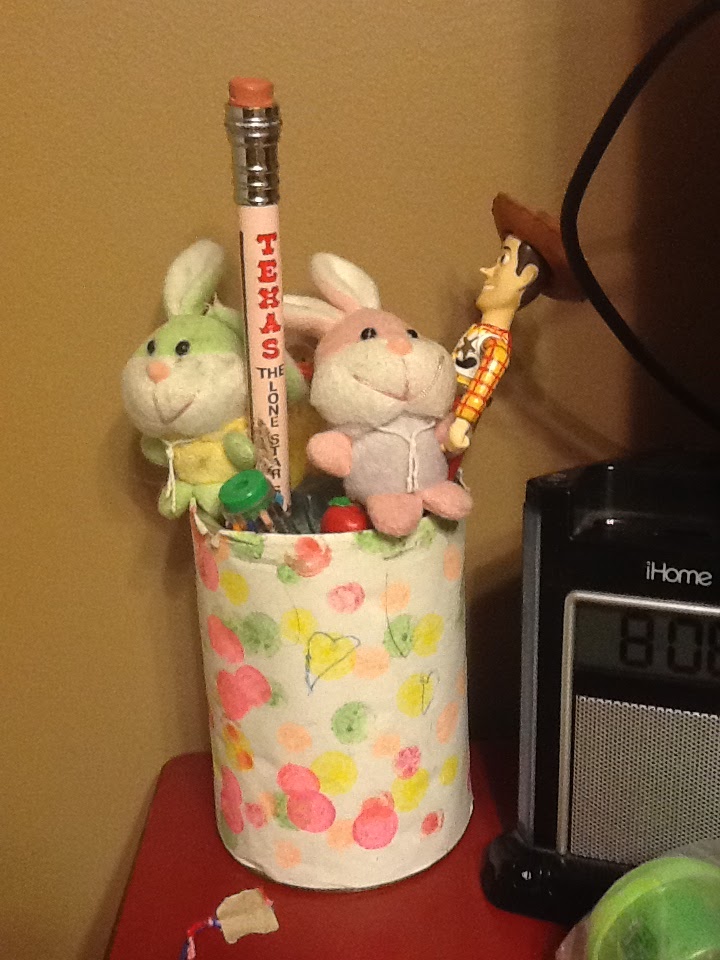 Pencil/pen holders. This is as easy as it sounds. Cut to fit, and wrap a piece of art around a coffee can or oatmeal container. Use it to hold all those awkward "fun" pens and pencils. We have a fuzzy pen with a light up duck....
Cards. I have done multiple different things for cards. Here are some suggestions.
-My daughter colored a very cute birthday cake with balloons. I bought some special cardstock from an office supply store (not Avery, but a competing brand) that was especially for printing up greeting cards. It was pre-scored for folding. It came with envelopes, instructions an access to an online template for dropping the art in and printing. I scanned in her art and used it for the cards. I printed up 5 (equals 10 cards) for future birthdays.
 -If you don't want to mess with that, you can bring kid art into an office supply store with a copy center and have them do all the work. Have them print two per page and print onto cardstock. You just cut, fold and supply your own envelopes.
-In the past, I have taken pictures of my two children holding up big signs that either say "Thank" and "You" or "Happy" and "Birthday". I then uploaded to Shutterfly and made them into greeting or note cards. Greeting cards are individuals, note cards come in 10 or 12 packs and are smaller. Easy. You can also use there multitude of print borders available(they have ones that say just about everything) and just order the prints that way. They fit postcard style into note card envelopes.
Photo books. Here is another idea I love, but have not personally done. Scan in your children's art and store electronically. Once you have a mass of it, turn it into a photobook just like you would snapshots. One piece of art per page. With all the options out there you could include text explaining the art or even pictures of the child with the art. Of course, that is more expensive but the finished project is fabulous.
 The "almost" a masterpieces. For the extra special art that your child loves and you think is really great, but wouldn't quite call "living room art". Laminate it and hang it in your child's bedroom. It will withstand the test of time in sturdiness and fade-factor. It will show that you think the art is special and worthy of safe keeping and displaying. It will cost under a dollar. (See left)
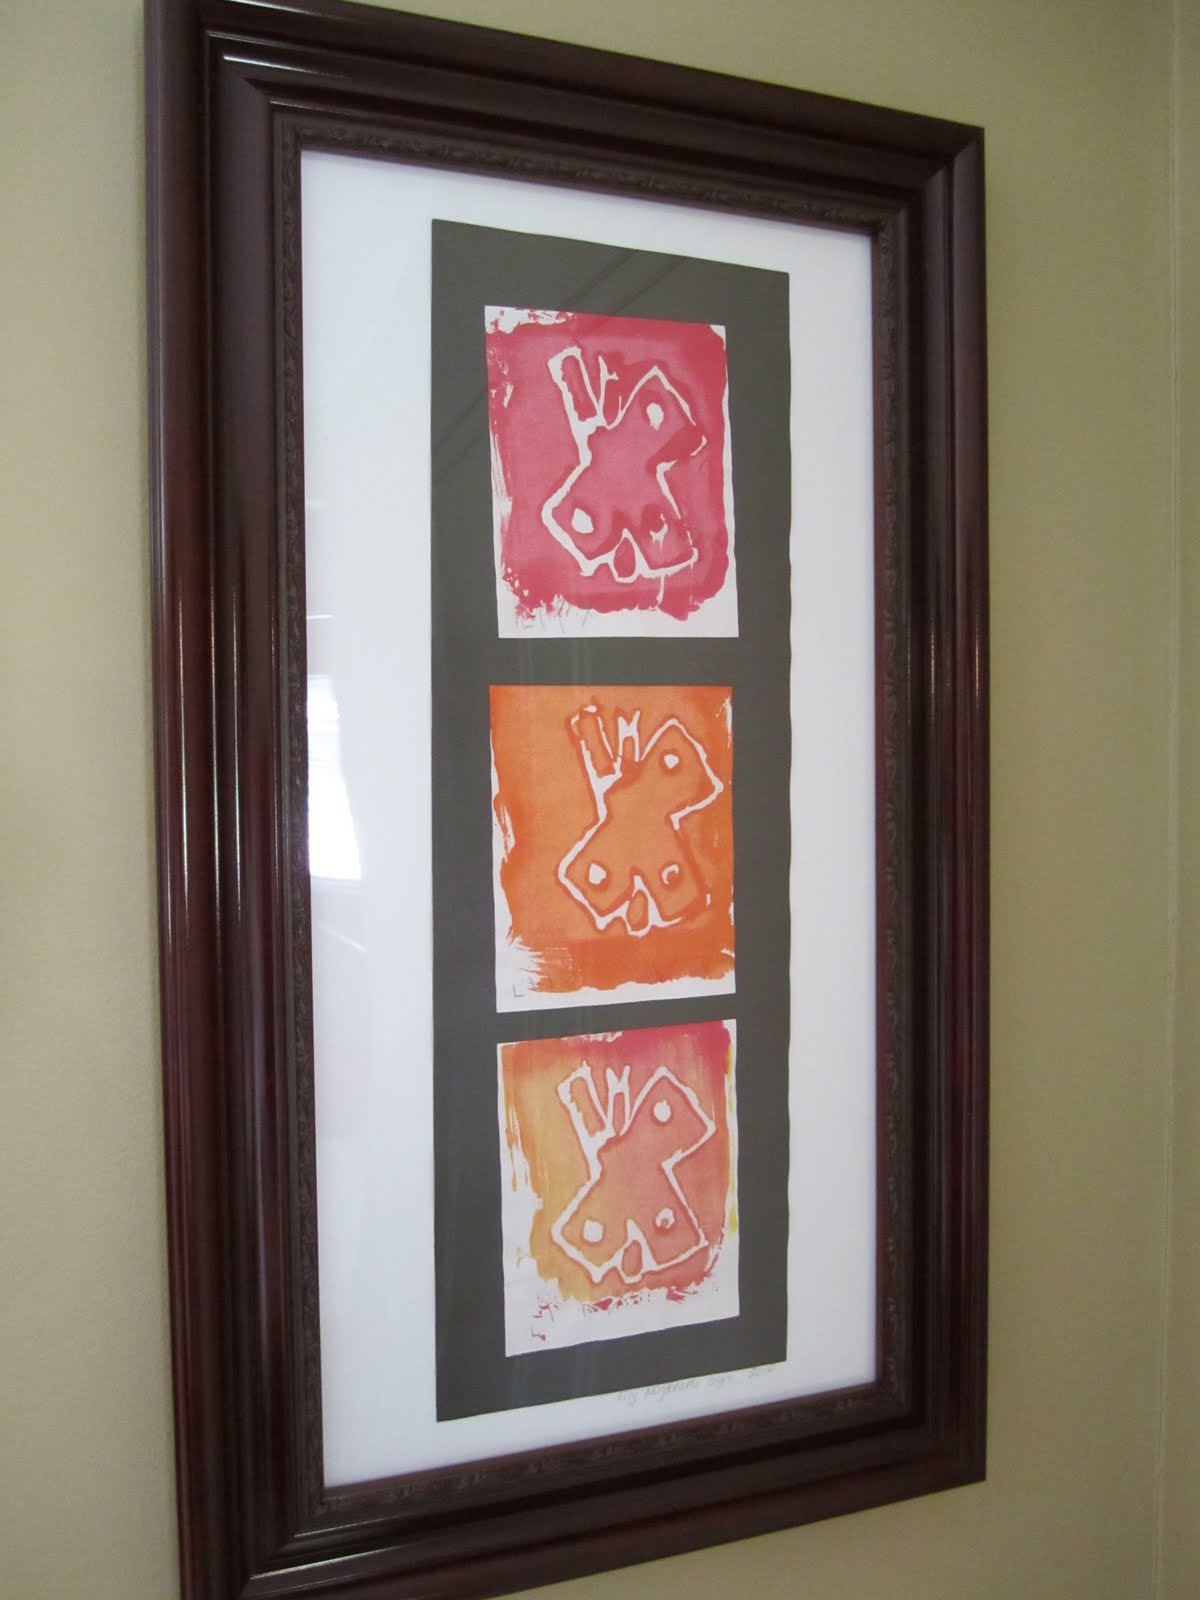
The masterpieces. Don't be afraid of framing. If it's really a picture you love - invest in it. On the cheap, you can get a frame with a mat already in it in just about any size at Michaels Crafts. Buy several of the same frames in different sizes for a gallery effect. Use a great frame you already own - but that has a picture or piece of art in it that you do not like. If it's truly great - hang it in a place of honor. If you can afford it, have a professional frame it. I've seen some really great finished products with a simple piece of children's art.
(Image to the right: My daughter made stamp paintings in first grade at school. It actually came home mounted on the black construction paper and the colors looked great in our living room. I just popped it into an old frame I had already and now it has a place of honor!)
Additional ideas: For options on how to keep precious art you aren't displaying, see my previous post: Scrapbooking for the sentimental, but way too busy/lazy/impatient mom.
If you have any great ideas of your own, I'd love to hear them!